
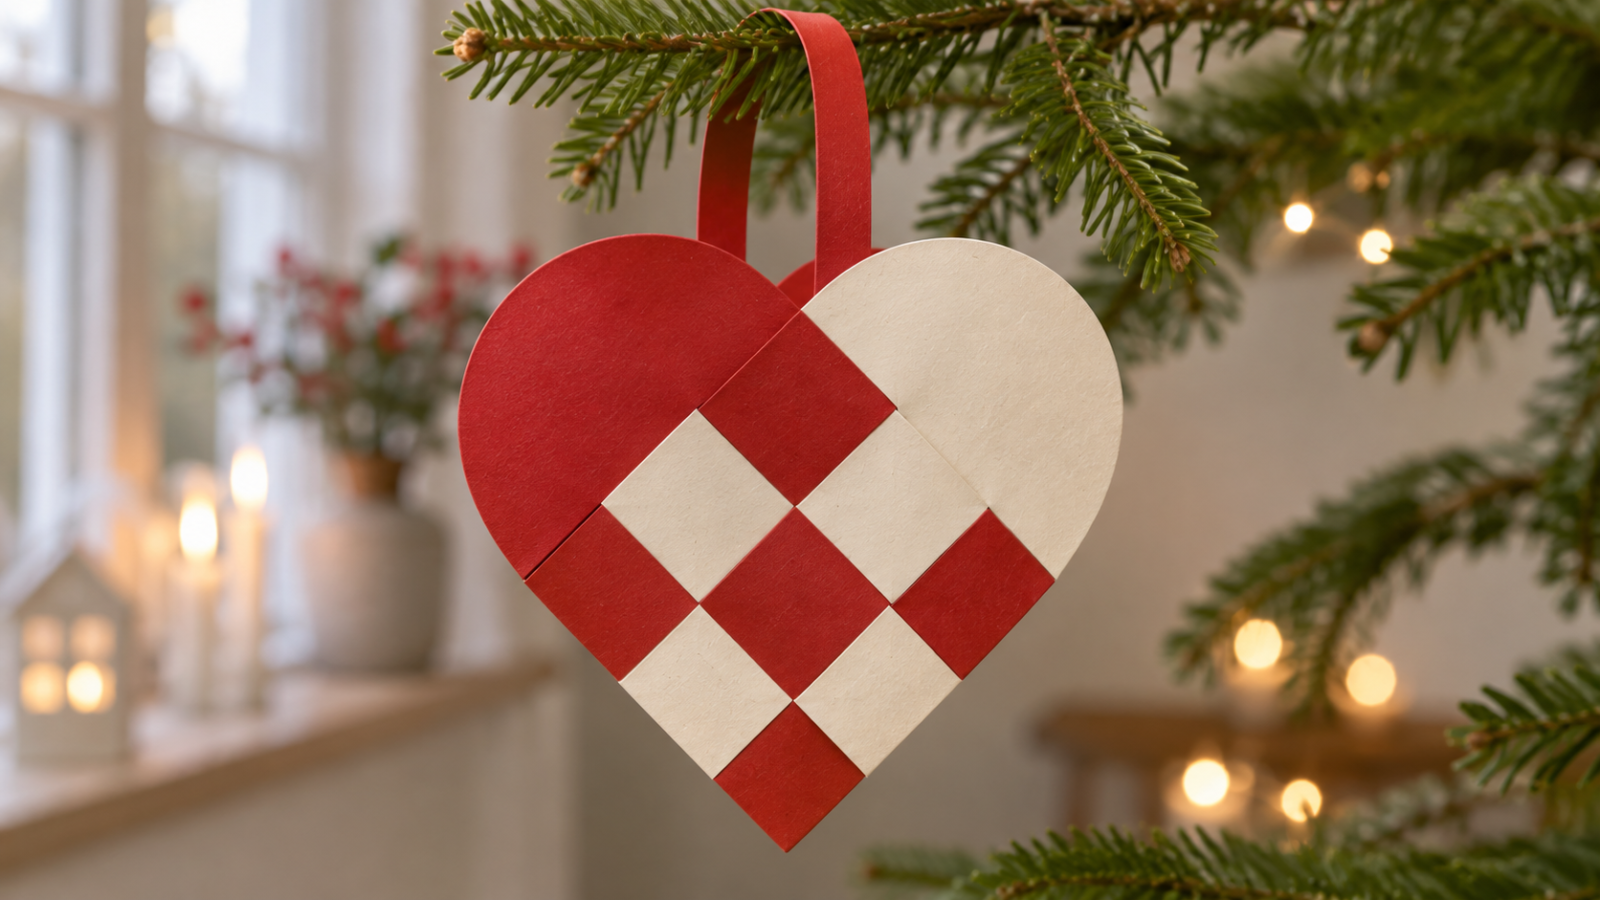
A red-and-white woven paper heart is a lovely way to bring a little Danish Christmas into your home. Two folded pieces of paper become a heart-shaped basket, ready to hang on a branch or tuck a small note inside.
In Danish, one Christmas heart is a julehjerte; several are julehjerter. This beginner version uses three folded strips in each color. The trick is to weave whole loops through other loops, which creates the little pocket inside.
Start here: Download the free woven-heart template and weaving guide (PDF). It includes two matching patterns, a print-size check, and the row-by-row weaving order.
At a glance: one paper heart basket; estimated 20–30 minutes for your first heart, plus glue drying time. Children may need help with cutting and the first row of weaving.
Materials · Print the template · Step-by-step instructions · Troubleshooting
What You Need
- Two sheets of flexible paper in contrasting colors, such as red and white
- The printable heart template and ordinary printer paper
- Scissors, a pencil, and a ruler
- A glue stick for the handle
- A paper strip about 15 cm long and 1 cm wide for the handle
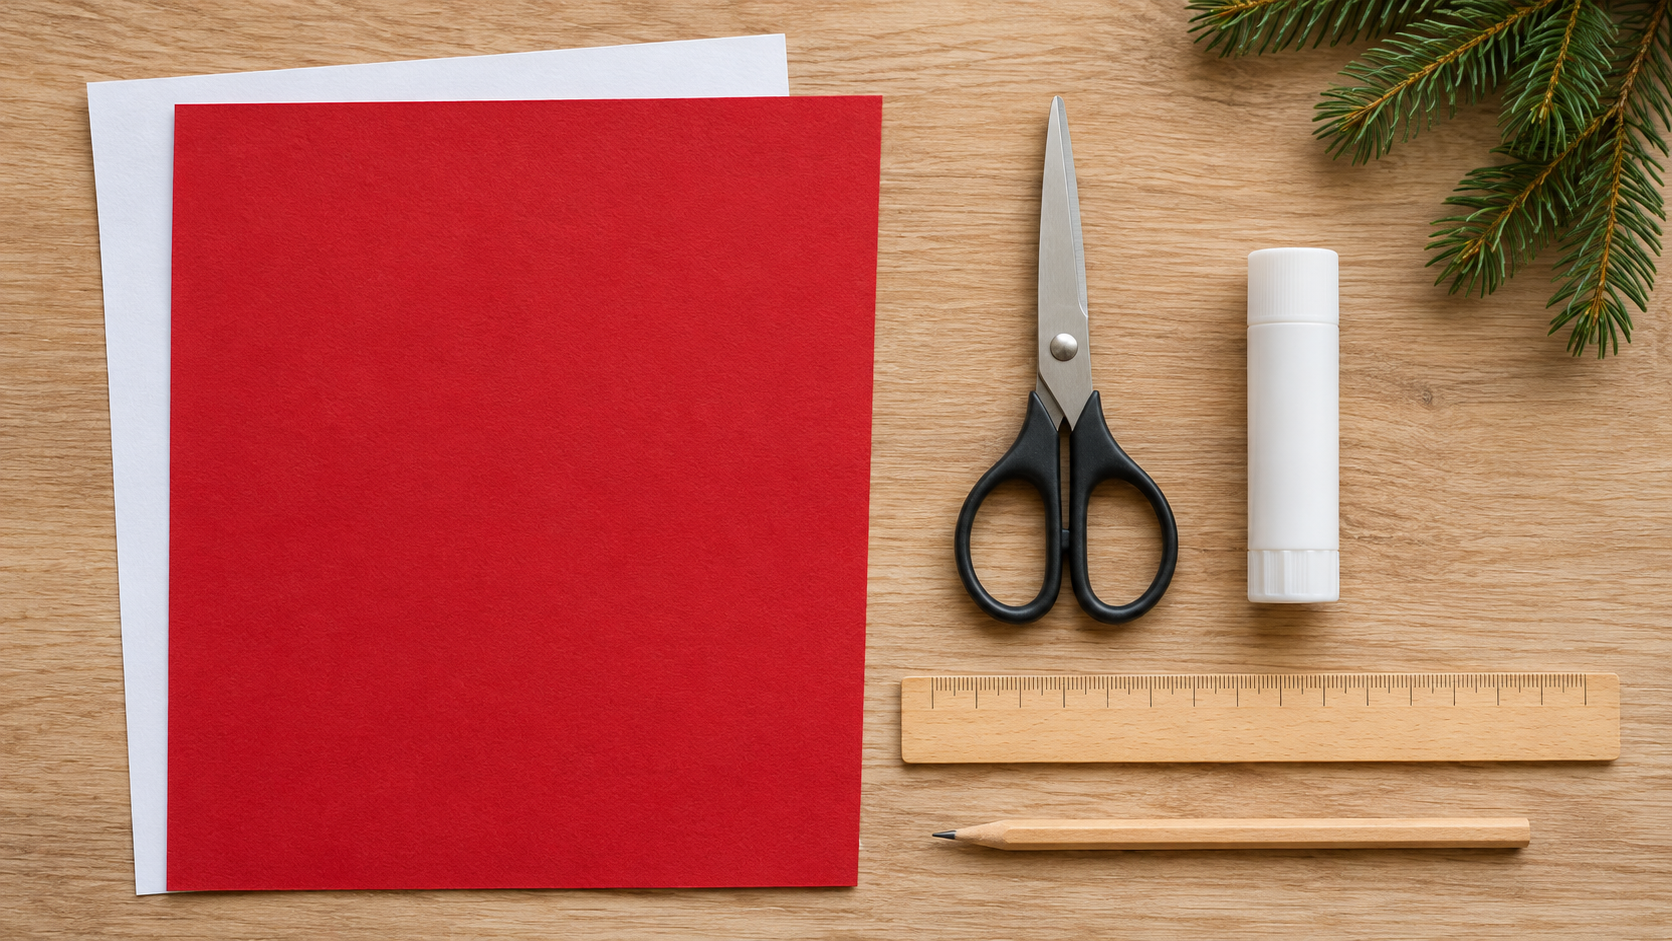
Use the same type of paper for both halves. Ordinary copier-weight paper is a useful starting point: very thick card is harder to bend, while delicate tissue paper can tear as you weave. Make your first heart from inexpensive paper before trying a favorite patterned sheet.
Print the Free Danish Heart Template
Print the PDF on A4 or US Letter paper at 100% / Actual size, with “Fit to page” turned off. Measure the check line: it should be exactly 5 cm long. The pattern sits within the printable area of either paper size.
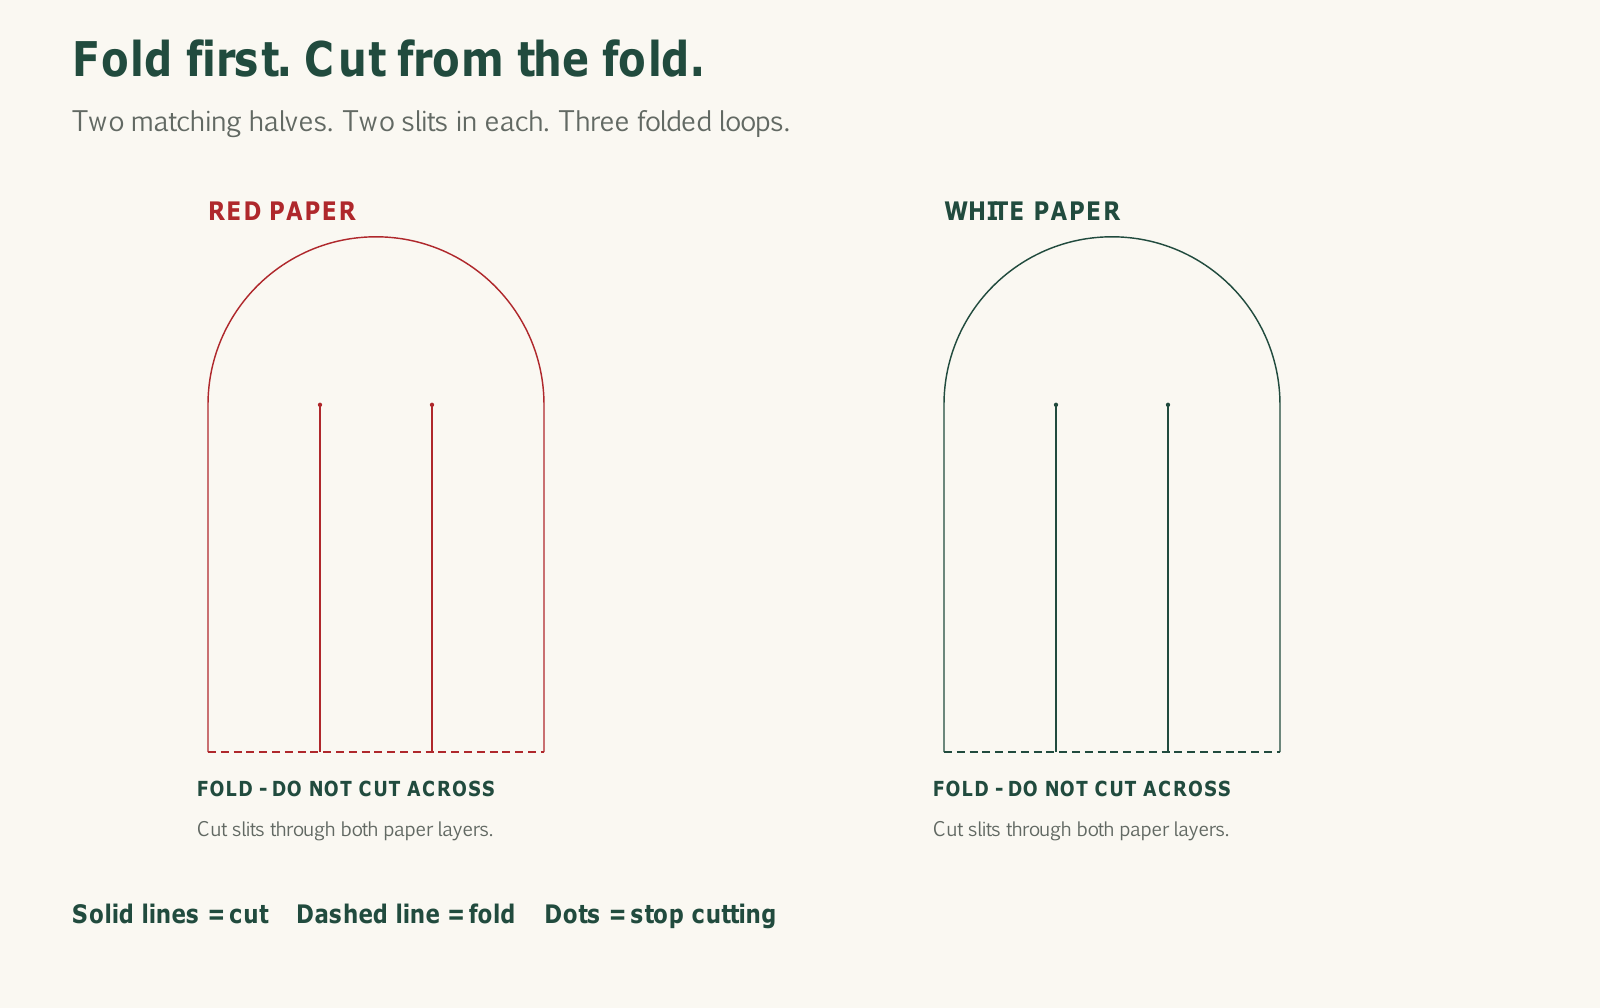
Each folded half is 6 cm wide. Its two slit lines divide it into three loops, each 2 cm wide. The slits extend slightly farther than the width of the other half to leave a little room for weaving. Keep both halves the same size.
The diagram below explains the cuts; use the PDF rather than printing the on-screen image when you need the full-size pattern.
How to Make a Danish Woven Christmas Heart
1. Make Two Paper Stencils
Cut out the two printed patterns, including each straight bottom edge. Cut along the two slit lines in each stencil, too. These are your guides for tracing. Cutting the stencil’s straight edge is fine; the fold in your colored paper must stay intact.
2. Fold and Trace the Colored Paper
Fold the red sheet in half. Place one stencil on top with its straight bottom edge exactly along the fold. Trace the sides, the rounded top, and the two slits. Remove the stencil. Repeat with the white sheet.
If your paper has a decorative front and a plain back, trace on the plain side. Once cut, you can reverse the fold to put the pencil marks inside the basket.
3. Cut the Two Folded Halves
Keep each colored piece folded. Cut around its sides and curved top, then cut the two slits upward from the folded edge. Cut through both layers and stop at the marked ends. Do not cut across the bottom fold or continue the slits into the rounded cap.
You should now have two folded shapes, each with three closed loops along the cut section. If you unfold one, the two rounded ends remain connected by three long strips. Refold it before weaving.
4. Arrange the Pieces and Learn the Two Moves
Put the red half on the left and the white half on the right. Turn them so their rounded ends point away from each other, roughly up-left and up-right, and the cut sections meet at a right angle below them.
Start with the red loop closest to the rounded white end. Call that red loop 1, and the next two 2 and 3. Call the white loops A, B, C in the order you meet them as you work across.
- Red through white: pinch the folded end of a red loop and pass the whole doubled loop between the two layers of a white loop.
- White through red: gently open the red loop and pass the whole folded white loop through it. The red loop now wraps around the white one.
Keep the two layers of each folded strip together as you move it. Simply laying individual layers over and under one another will not create the basket.
5. Weave the Three Rows
Follow this order. Work across the first red loop, then repeat with the second and third. After each row, gently slide the woven section toward the rounded ends to make space for the next row.
| Red loop | White A | White B | White C |
|---|---|---|---|
| 1 | Red through white | White through red | Red through white |
| 2 | White through red | Red through white | White through red |
| 3 | Red through white | White through red | Red through white |
The last row can feel snug. Open each receiving loop gently, ease the other loop through, and straighten the paper a little at a time. If it catches, back up and check the fold instead of pulling harder.
6. Open the Basket and Add a Handle
Gently separate the front and back at the top. You should have a small pocket. Check that it opens before adding any glue.
Curve your handle strip into an arch. Glue one end inside the front rim and the other inside the back rim, keeping the pocket open. Let the glue dry before hanging the heart. A short note or a lightweight wrapped sweet is plenty; a paper heart is a delicate decoration.
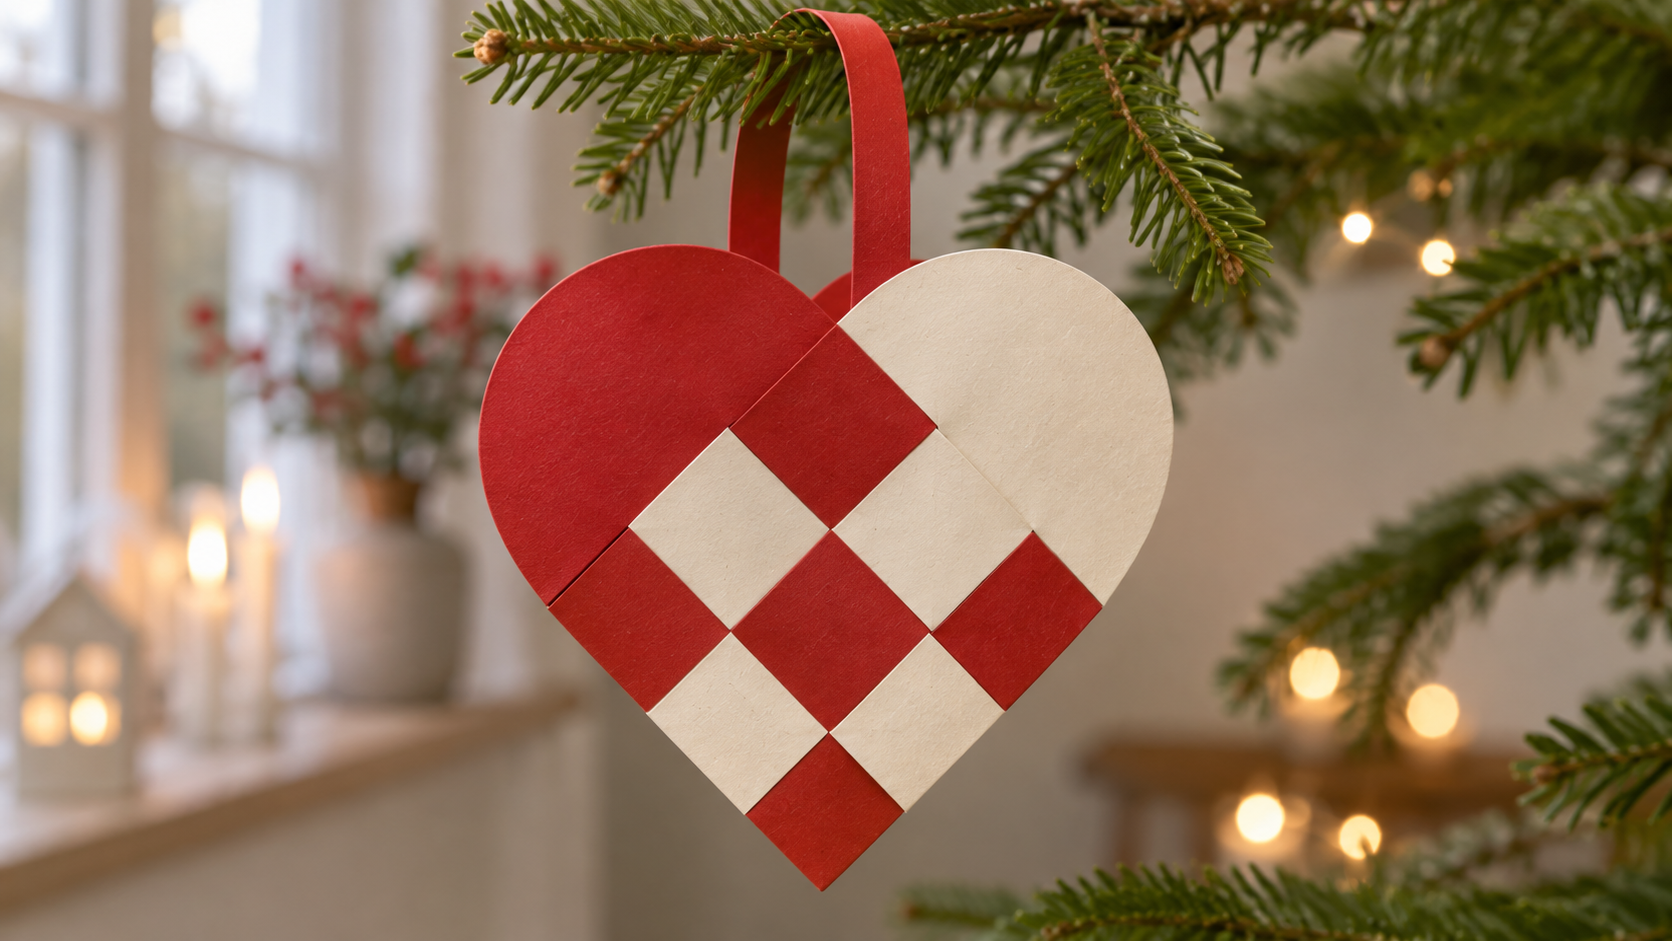
If Your Paper Heart Will Not Weave
The Heart Is Flat and Will Not Open
One or more strips probably went over a single paper layer rather than through a complete loop. Undo the affected row and check each crossing. The entire folded loop must pass inside or around the other folded loop.
The Last Row Feels Too Tight
Slide the earlier rows farther toward the rounded ends. Check that both halves match in size and that each slit reaches its marked stopping point. If the paper is very stiff, start again with a thinner sheet.
The Paper Tears at the End of a Slit
Stop pulling and loosen the crossing. A crease or a small snag may be catching on the other loop. For a fresh attempt, use flexible paper and cut neatly to the marked stop without extending into the rounded cap.
The Squares Do Not Alternate
Look at the crossing where the pattern changes. Each new crossing should reverse the previous move, and the next row should start with the opposite move. You can undo one row at a time rather than taking the whole heart apart.
A Little About the Danish Christmas Heart
The craft has a long connection with Denmark. The H.C. Andersen collection at Odense Bys Museer includes an early yellow-and-green woven heart attributed to the writer. Its catalogue also notes that whether Andersen invented the woven heart is uncertain.
For more festive background, explore Christmas traditions in Denmark. You can also pair a craft afternoon with ideas from the Danish Christmas cookie recipe roundup.
More Ways to Use Your Woven Hearts
- Hang a few from a Christmas branch using different handle lengths.
- Add a handwritten name and use an empty heart as a place setting.
- Try two contrasting patterned papers once you are comfortable with the loops.
- Store finished hearts flat in a box so they are ready for another Christmas.
Ready to begin? Download the free Danish woven-heart template and weaving guide, then choose your two paper colors. You’ll find more projects in Christmas activities and crafts.
Further weaving reference: Flet.Studio’s guide to weaving a paper heart describes the alternating inside-and-around method used for these baskets.


 29 Christmas Words That Start With Z (List With Meanings)
