
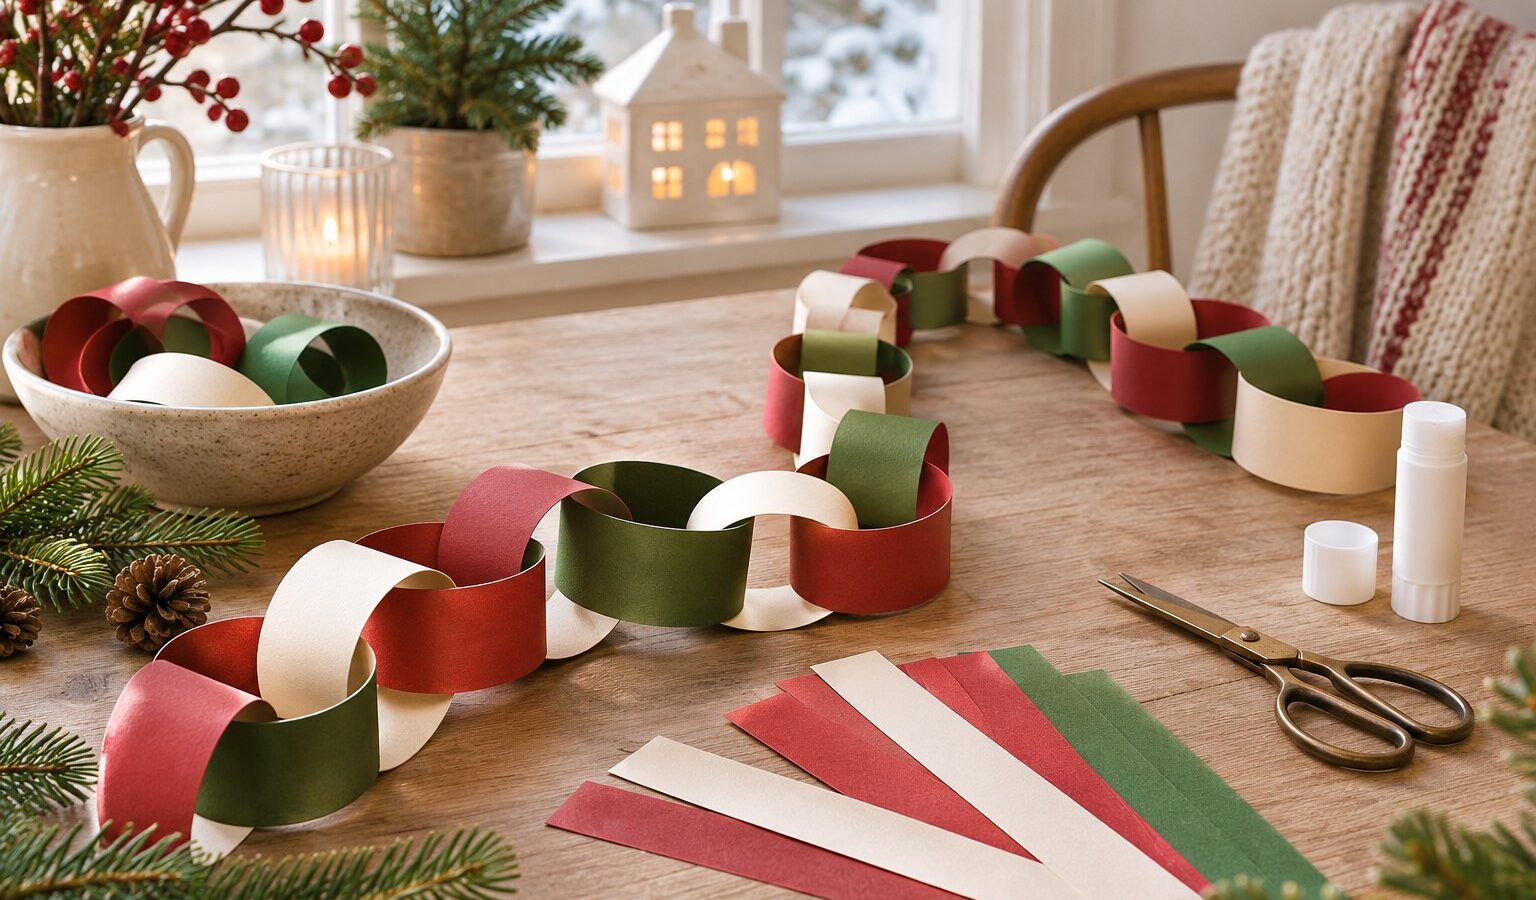
Christmas paper chains are an easy way to make a room feel festive using a small pile of paper. The repeating loops can run along a shelf, frame a doorway, or become a countdown decoration. Because each link is made separately, several people can work on the same chain at their own pace.
This guide starts with strips measuring 2 cm wide and 15 cm long. Treat those measurements as a convenient starting point, then adjust them if you want larger loops. Make a short sample before cutting a whole batch of paper.
Gather Flexible Paper and a Simple Joining Material
Ordinary colored paper, clean scraps of wrapping paper, and old craft sheets can all work. Paper that bends smoothly is easier to turn into a loop than stiff card. Very thin or crumpled paper may tear at the join, so test it before using it for a long hanging chain.
- Paper in one color or a small group of coordinating colors.
- A ruler, pencil, and scissors.
- A glue stick, a little paper glue, or short pieces of tape.
- Optional cotton thread for supporting a longer chain.
For younger children, prepare strips in advance and let an adult handle awkward cutting. If you use a stapler, keep it as an adult preparation tool and check that the closed staples do not leave sharp ends exposed.
Cut a Small Batch of Matching Strips
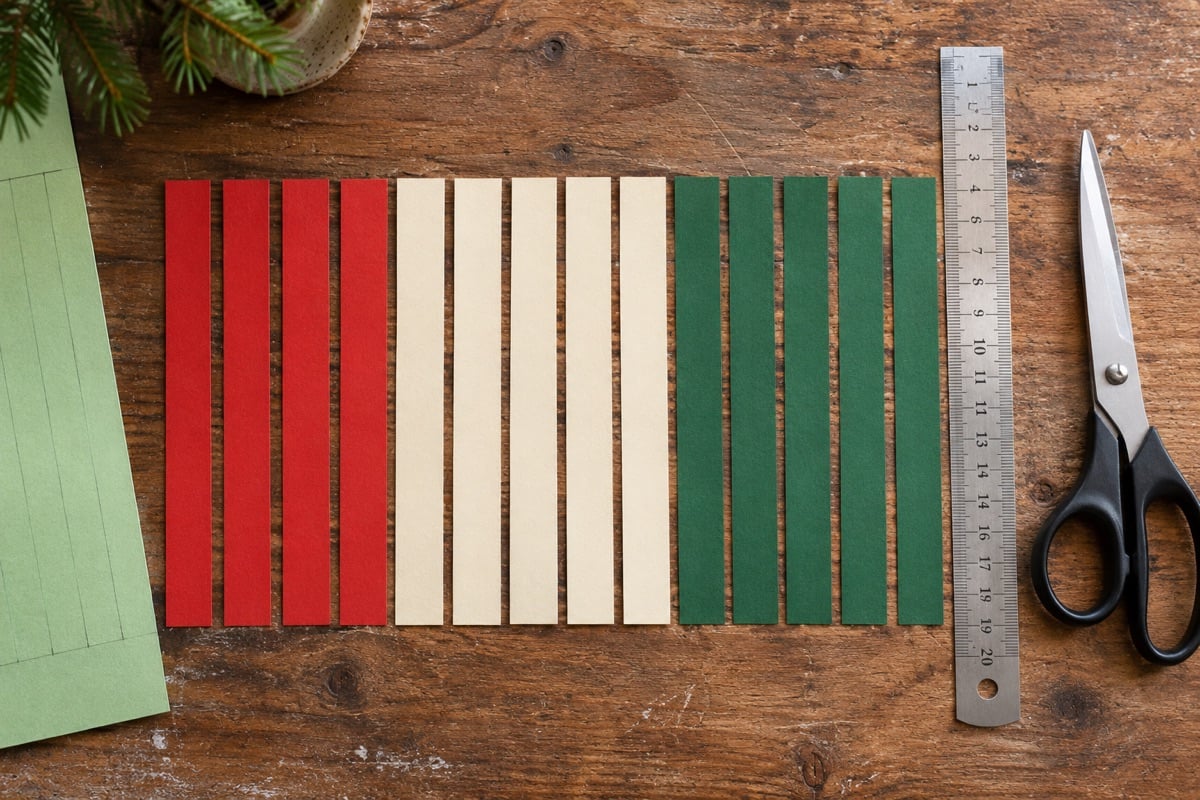
Mark the width at several points along the edge of a sheet, draw light guide lines, and cut along them. A 2 x 15 cm strip makes a modest loop that is easy to join. A wider strip looks bolder but uses more paper and needs a secure overlap.
Keep the first successful strip as a measuring guide. If you mix paper types, use that guide to keep the chain visually consistent. Small differences are part of a handmade decoration, but very different loop sizes make an alternating pattern harder to see.
Make the First Three Links
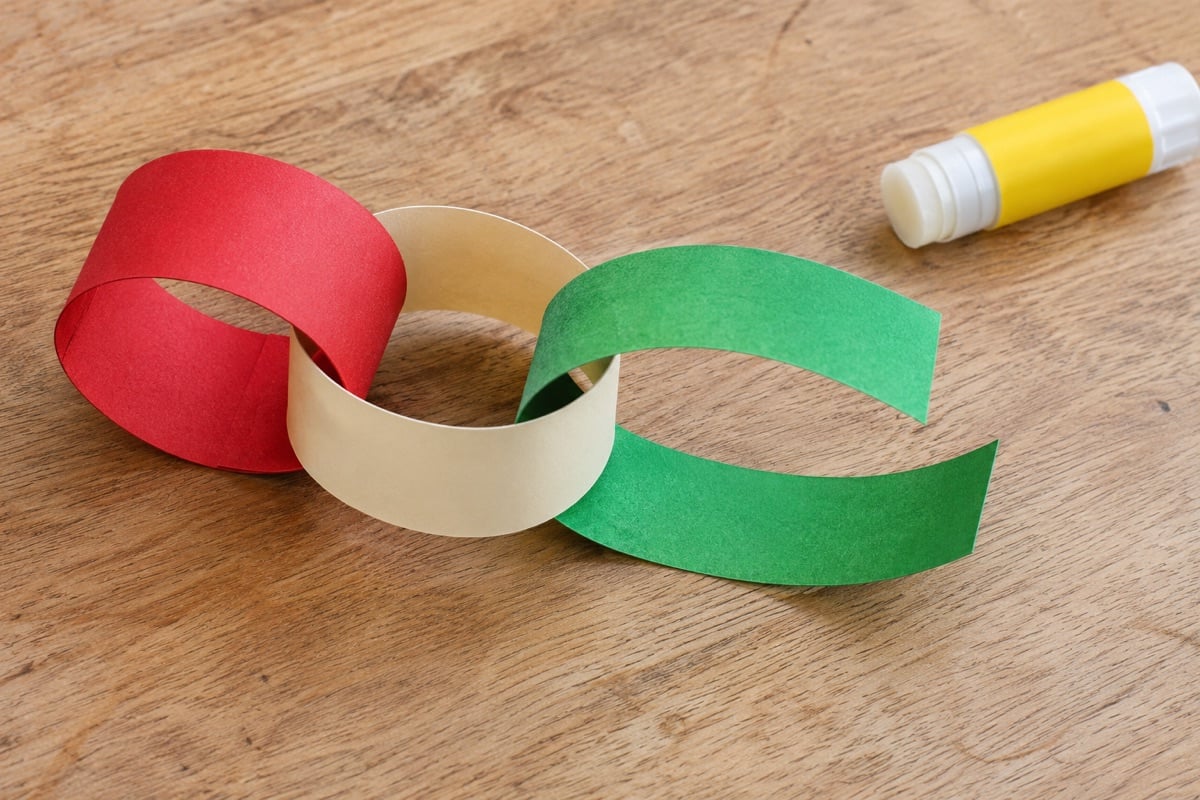
- Curve one strip into a loop, overlapping its short ends by about 1.5 cm.
- Apply glue to the overlap or secure it with a small piece of tape. Hold the join until it stays in place.
- Take a second strip and pass it through the first closed loop.
- Curve the second strip into its own loop and join its ends in the same way.
- Add a third strip through the second loop. Continue one link at a time, allowing newly glued joins to hold before pulling on the chain.
Use the same overlap on each link so the loops stay similar in size. Too little overlap gives the glue a small area to grip. Too much overlap makes the loop noticeably smaller. If you change the strip length, test the overlap again on a few sample links.
Choose a Pattern Before the Chain Gets Long
Lay out six or eight strips in the order you want to use them. A red, cream, green repeat is easy to follow, but a single-color chain can look just as effective. Patterned wrapping paper works well when mixed with a plain color that gives the eye somewhere to rest.
- Alternate two colors for a clear, simple rhythm.
- Repeat three colors for a traditional festive combination.
- Use a pale color every fourth link to break up darker paper.
- Let each person contribute a short section, then join the sections with a shared color.
If a color runs out, finish the current repeat and deliberately begin a new section. An intentional change looks more settled than adding random replacement colors one link at a time.
Measure and Hang the Chain Gently
Check the distance you want to decorate and hold up the chain with a little slack. A paper chain usually looks better with a soft curve than stretched tightly between two points. Support a long chain in several places so the whole weight does not pull on the end links.
Use a suitable existing hook or a removable fixing rated for the surface and weight. Follow the fixing’s directions and test it in an unobtrusive place if appropriate. Keep paper clear of candles, hot bulbs, heaters, and places where a moving door will catch it.
Turn a Chain into a Countdown
Write an activity or a short note inside each link before joining it. Remove one link on each chosen day and read the message together. The countdown can cover 24 days, a week, or a small number of family activity days; it does not need to follow a rigid format.
Use activities you can actually arrange. A story, a short walk, or a few Christmas quiz questions is easier to fit into an ordinary evening than a surprise outing. Keep a separate note of the activities if an adult needs to prepare supplies.
Keep or Reuse the Paper Afterwards
A short chain can be stored loosely in a box, but tightly packed loops tend to flatten. If storage space is limited, remove the tape or cut the joins and save usable strips for another craft. Avoid adding glitter or mixed-material decorations if you want to keep future reuse simple.
For another paper decoration that stores differently, try folded paper Christmas stars. A small collection of handmade pieces can give a room a consistent festive look without needing a different craft supply for every project.


 How to Wrap Christmas Gifts with Fabric
