
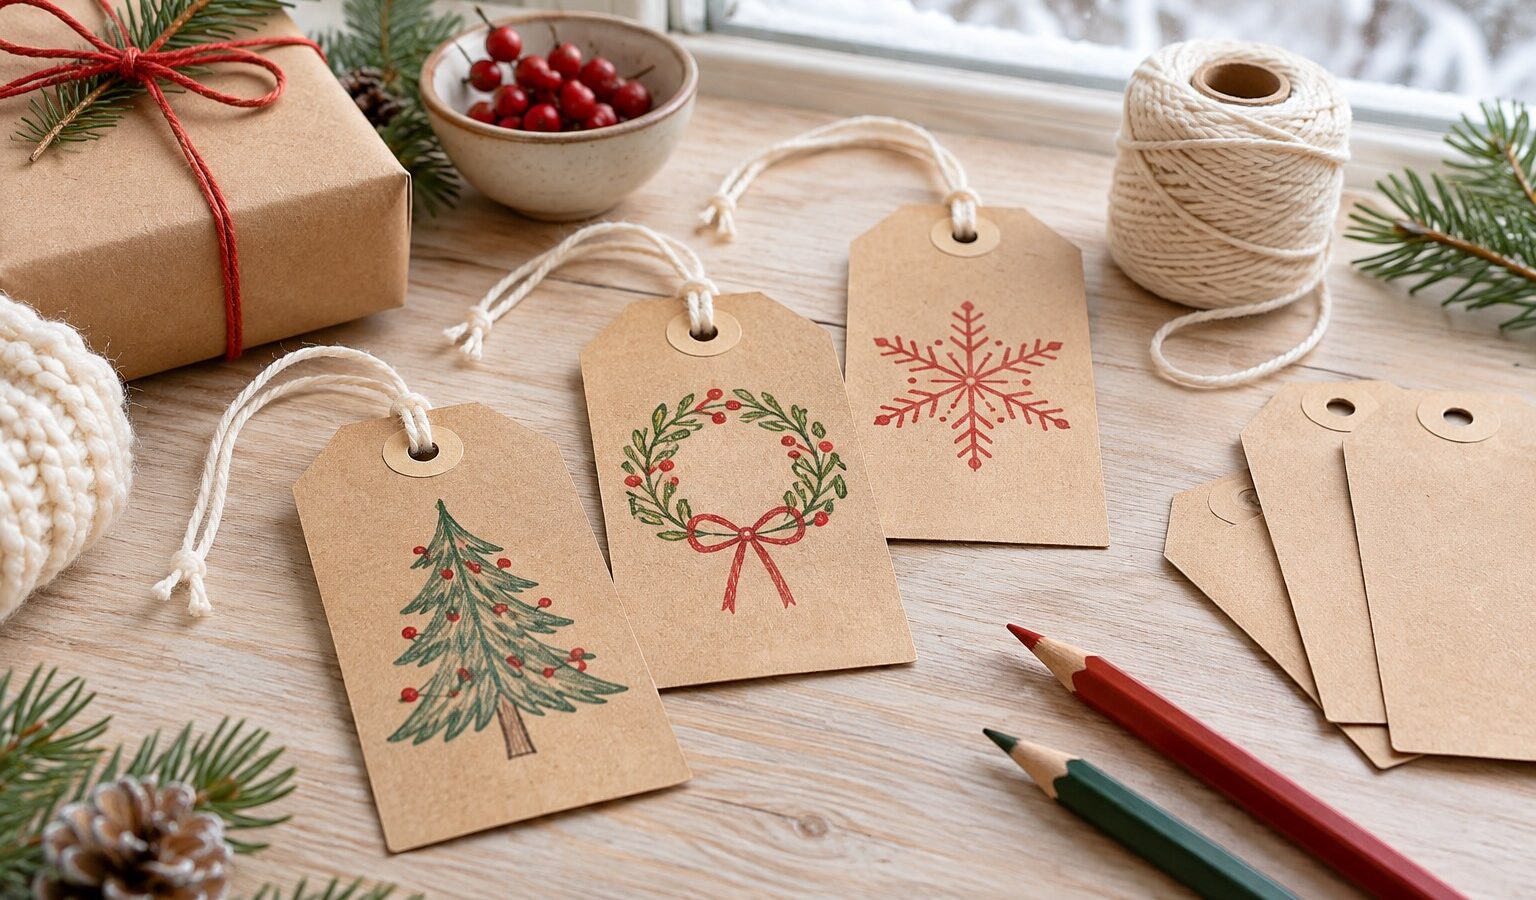
A reusable Christmas gift tag needs a place for the recipient’s name that can change without damaging the decoration. The simplest version is a sturdy card tag with a small paper pocket on the back. Slide in a fresh name slip each time the tag is used.
Make one sample first, then turn the method into a small matching set. Keep the front decoration simple and flat so the tags can be stored together and will not catch on other parcels.
Gather the Materials
- Sturdy card, including clean card saved from suitable packaging.
- Paper for the pocket and removable name slips.
- Scissors, a ruler, a pencil, and a hole punch.
- Paper glue or double-sided craft tape.
- Cotton thread or narrow ribbon for the hanging loops.
- Colored pencils, paper scraps, or simple stamps for decoration.
Choose card that bends a little without creasing easily. Very thin card wears around the hanging hole, while thick corrugated card can make a bulky tag. Avoid using packaging with food residue or surfaces on which your glue will not hold.
Cut a Base That Leaves Room for the Name Pocket
A tag about 5 x 8 cm is a useful starting size. Cut a rectangle, then trim the top two corners if you want the familiar luggage-tag shape. Leave the bottom corners square or round them slightly with scissors.
Make a paper template once you like the shape. Trace it several times and cut the bases together in a manageable batch. Check that the hanging hole will have enough card around it: placing the hole too close to an edge makes it easier to tear out.
Add a Replaceable Name Slip

- Cut a pocket rectangle about 4 x 3 cm from ordinary paper.
- Fold a narrow margin inward along its two short sides and bottom edge. Leave the top open.
- Glue only those folded margins to the back of the tag, pressing the pocket flat while keeping its opening clear.
- Cut a small name slip that slides comfortably into the pocket without needing to be forced.
- Write the name and a short message on the slip, then leave a little of its top edge visible so it can be removed.
Test the pocket with the slip before the glue dries completely. If it grips too tightly, make the slip slightly smaller. A pocket with a little spare room is more likely to survive repeated use than one that needs to be stretched each time.
Decorate the Front Without Adding Bulk
Draw a tree, a paper star, a simple border, or a small group of berries. Keep the design away from the hanging hole so the strongest part of the card remains intact. Two or three colors can tie a mixed batch of recycled card together.
Use flat paper shapes if you prefer collage. A raised bow or brittle decoration may look attractive at first but can make the tag difficult to stack and reuse. If children decorate the tags, let each tag have its own character rather than trying to make the whole set identical.
Reinforce and Thread the Hanging Hole

Punch the hole, then reinforce it with a small ring of card or a paper reinforcement on both sides. Cut the reinforcing pieces neatly and keep the hole clear. Allow the glue to dry before threading anything through it.
Fold a short length of cotton thread in half, pass the folded end through the hole, and pull the two loose ends through that folded loop. Tie the loose ends around the parcel’s ribbon or fabric knot. Leave enough thread for the recipient to remove the tag without cutting it.
Give and Store the Tags Thoughtfully
A reusable tag can be part of the gift. If you hope to keep it in the household, make that arrangement clear without making the recipient feel obliged to return a small decoration later. For shared family gifts, collect the tags while the wrapping is being sorted.
After use, remove the old name slip and check the pocket and hole. Store the tags flat in a small envelope with spare slips and thread. Repair a loose corner before the next wrapping session rather than discovering it when the gifts are ready to go.
Make a Coordinated Wrapping Set
Use the same colors on several tags, keep a small supply of replacement slips ready, and note which pens write clearly on your chosen paper. A tag with a readable name is more useful than a heavily decorated one with nowhere left to write.
These tags work especially well with reusable fabric gift wrapping. Add a matching paper decoration if you like, but let the hanging loop and name pocket stay easy to reach.


 40 Non-Food Advent Calendar Fillers
