
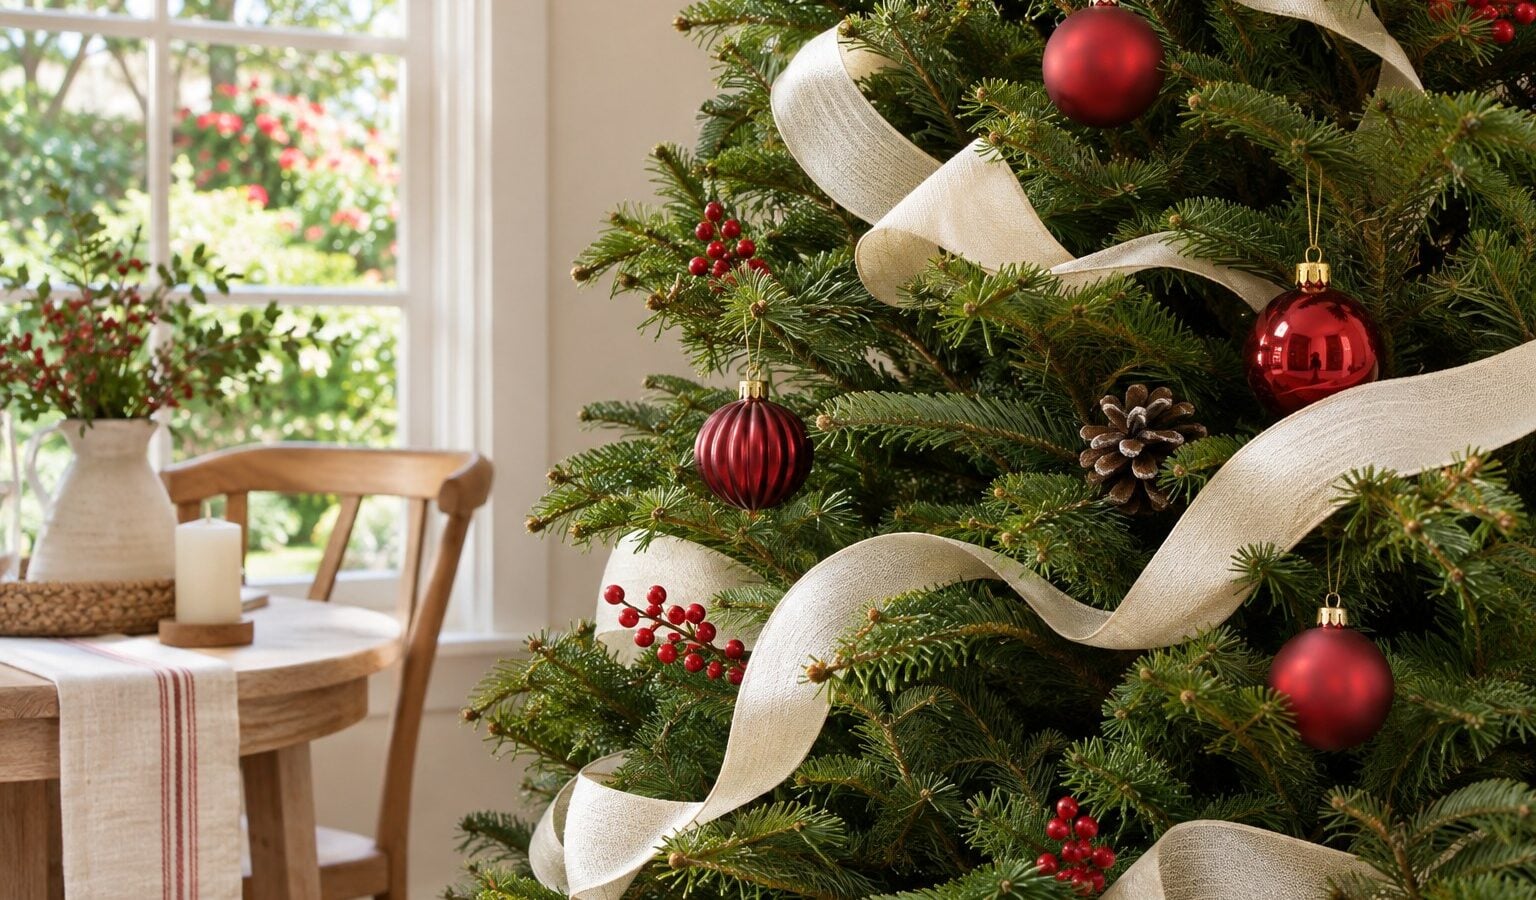
Ribbon can connect the colors on a Christmas tree and create a little movement among the ornaments. It works best when it follows the branches rather than sitting as a tight band around the outside. A few soft sections can be enough.
Choose the method that suits your tree, ribbon, and patience: tucked loops, short vertical sections, or a gentle spiral. Before cutting a whole roll, try one section and look at it from across the room.
Choose Ribbon That Holds the Shape You Want
Wired ribbon can hold a curved loop, while a soft unwired ribbon gives a looser drape. Neither is automatically better. Think about the style of your ornaments and whether you want a clear line or a more relaxed fold.
Check the width against the tree. Very broad ribbon can overwhelm a small tree, while a narrow ribbon can disappear among deep branches. Hold a short length in place before deciding. If the ribbon has wire edges, fold sharp cut ends neatly inward and keep loose offcuts away from children.
For a first trial on a medium tree, try ribbon around 5–7 cm wide and cut just one 60–90 cm length. That is enough to experiment with a tuck, a loose loop, and a second tuck without committing the whole roll. Use narrower ribbon or a shorter section on a tabletop tree. Keep the successful sample beside the uncut roll as your guide.
Prepare the Tree Before Adding Ribbon
Set up the tree securely and arrange the branches before decorating. Add and check the lights first, following their instructions. Ribbon is easier to position before the small ornaments are in place, although a few large feature ornaments can help you judge the balance.
Keep the ribbon clear of electrical connections and heat sources. It is a decorative layer, not something to wrap around a light fitting or use to hold a cable in place. For the overall sequence, see our Christmas tree decorating guide.
Method One: Make Soft Tucked Loops
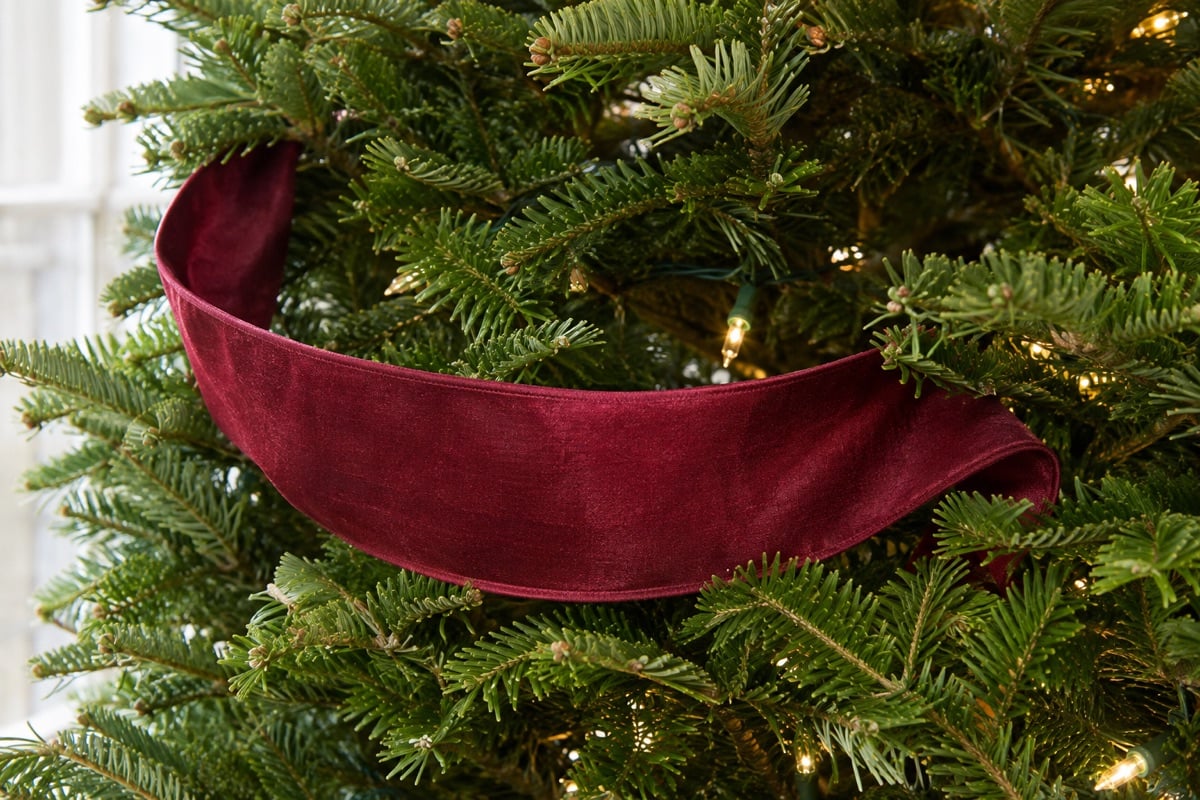
- Choose a starting point slightly inside the branches rather than on the outer tip.
- Rest one ribbon end securely among the branches, using a suitable lightweight decoration tie if needed.
- Bring the ribbon outward into a soft curve, then tuck it back into the branches a short distance below or to one side.
- Adjust the depth of the tuck until the visible loop looks relaxed.
- Repeat the same movement in a few different areas, leaving space for ornaments between the sections.
Keep the loops similar in character without making them exactly identical. A tree is an irregular shape, so small changes in direction help the ribbon look connected to the branches.
Method Two: Use Short Vertical Sections
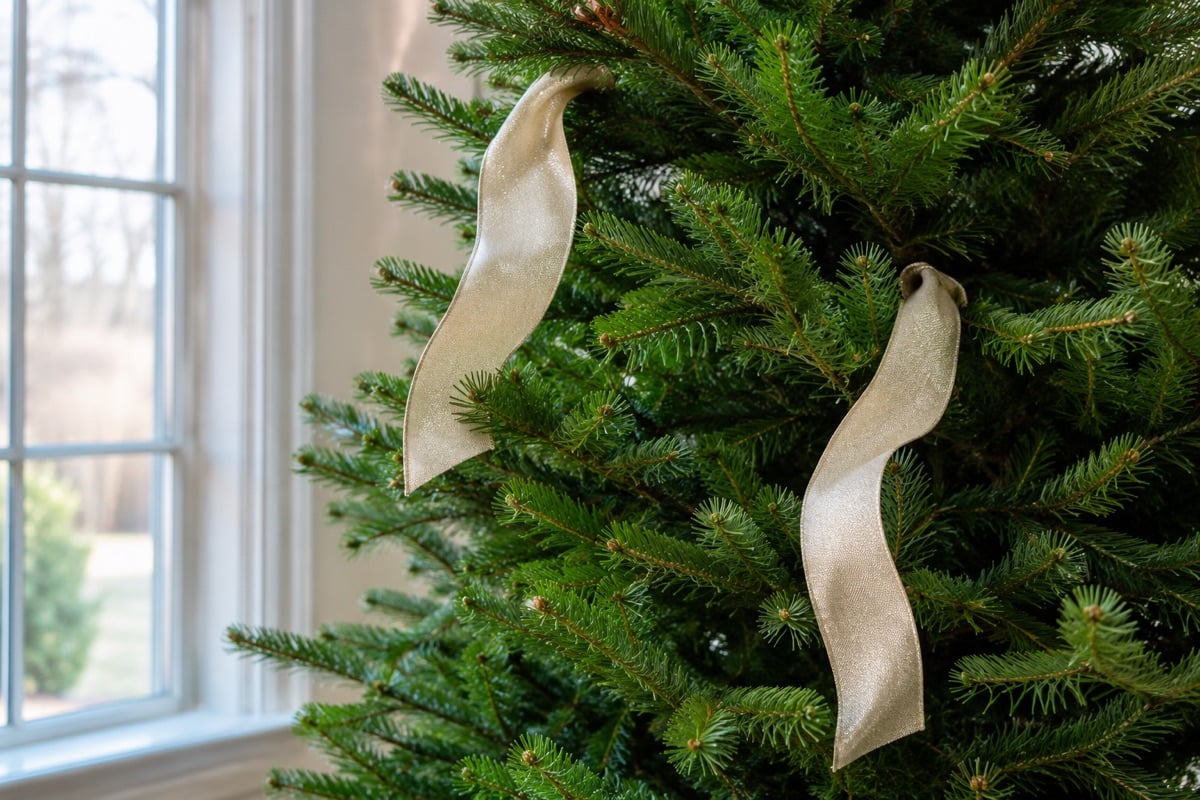
Cut a test section long enough to make two or three visible curves. Tuck its top end into the upper branches, let the ribbon travel downward gently, and tuck it again at intervals. The visible sections can lean slightly rather than forming a straight stripe.
Short pieces are often easier to adjust than one continuous length running from the top to the bottom. Place several sections around the tree, then step back and check whether they repeat the color evenly. Hide the cut ends inside the branches where practical.
Estimate the amount from that test piece instead of buying by tree height alone. If one 75 cm section gives the effect you want and you plan eight similar sections, those sections use 6 meters of ribbon. Allow a little extra for adjustments or a bow. A tree seen only from the front may need fewer sections than one standing in the middle of a room.
Method Three: Follow a Gentle Spiral
Begin near the top and let the ribbon move around the tree in a broad, loose spiral. Keep some sections tucked deeper so the line does not look like a tight belt. Leave enough distance between turns for the ornaments to remain visible.
Work with a helper if managing the roll and the tree at the same time becomes awkward. Stop regularly to check the effect from the main viewing angle. If the spiral begins to dominate, remove a turn or break it into shorter sections.
Balance Ribbon with the Ornaments
After placing the ribbon, add ornaments around it rather than filling every remaining space immediately. Use a few repeated colors or materials to connect the two layers. Keep favorite handmade pieces visible instead of tucking them behind a broad strip.
Our guide to choosing a tree color scheme can help you decide which colors need repeating. You can connect a mixed collection with a small amount of ribbon rather than buying a matching set of new ornaments.
Fix the Most Common Problems
If the ribbon looks flat, tuck selected points farther into the tree and let the middle of each section curve outward. If it looks crowded, shorten a few pieces or remove a section. If a loop keeps falling, adjust the resting point instead of pulling the ribbon tightly around a branch.
When packing it away, untie or release each section carefully and roll the ribbon loosely. Keep usable short pieces together with a note of the method you liked. They can be easier to place next year than a new uncut roll.


 How to Make Paper Christmas Crackers Without Snaps
